In this tutorial, you will learn how to make a presentation in Google Slides. This service allows you to create dynamic slide presentations. They can include slides, text, images, videos, animations, and transitions. Presentations can be used for school, business, and so much more.
Tutorial: How to make a presentation in Slides
Below, you will find a step-by-step tutorial. You will learn, how to create a new presentation for your new project. This tutorial starts with Google Drive because it is easier to understand folders at the beginning. If you don’t have a Google account, create one.
1. Open Google Drive (it’s easier to manage)
- Open your favorited web browser. I am using Google Chrome.
- Type drive.google.com in the address bar. The Google Drive window appears.
- Please login (using your email address and password) if needed.
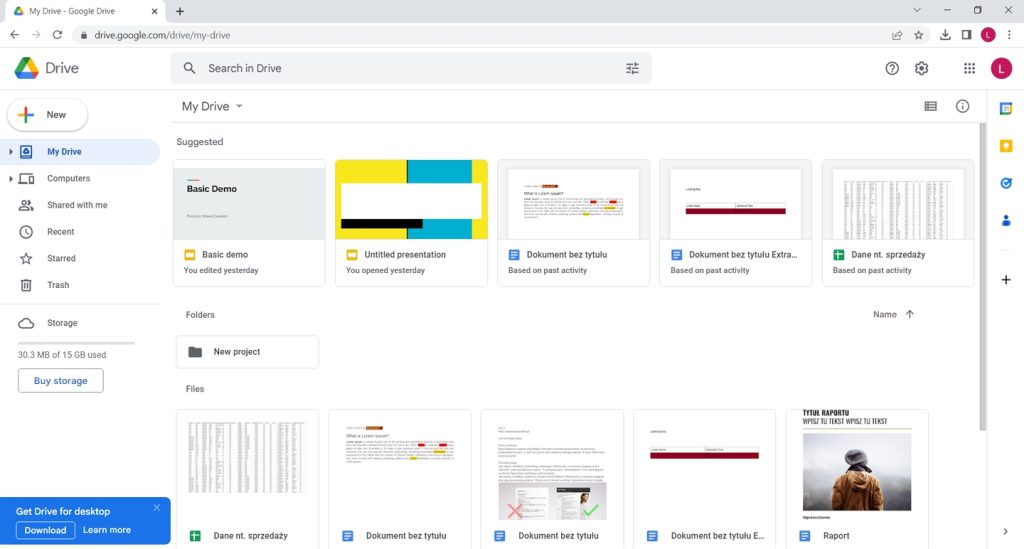
Google Drive stores all documents; you can find Slides, Docs, and Sheets documents here.
There is a menu available for you in the left corner of the Google Drive window. Using this menu or keyboard shortcuts, you can create folders, subfolders, and documents.
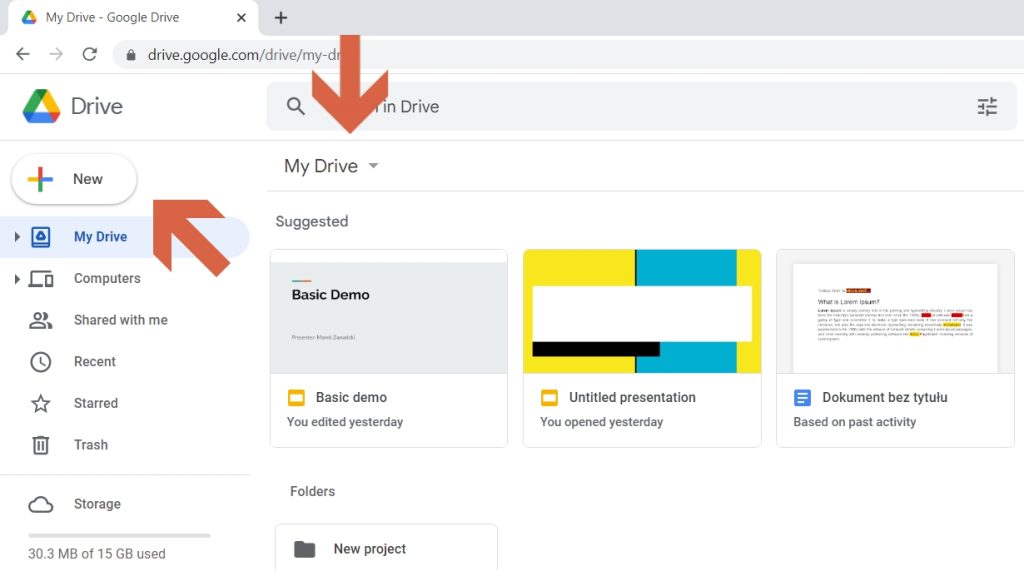
2. Create a new folder
- Click the New button in the left corner of the Google Drive window.
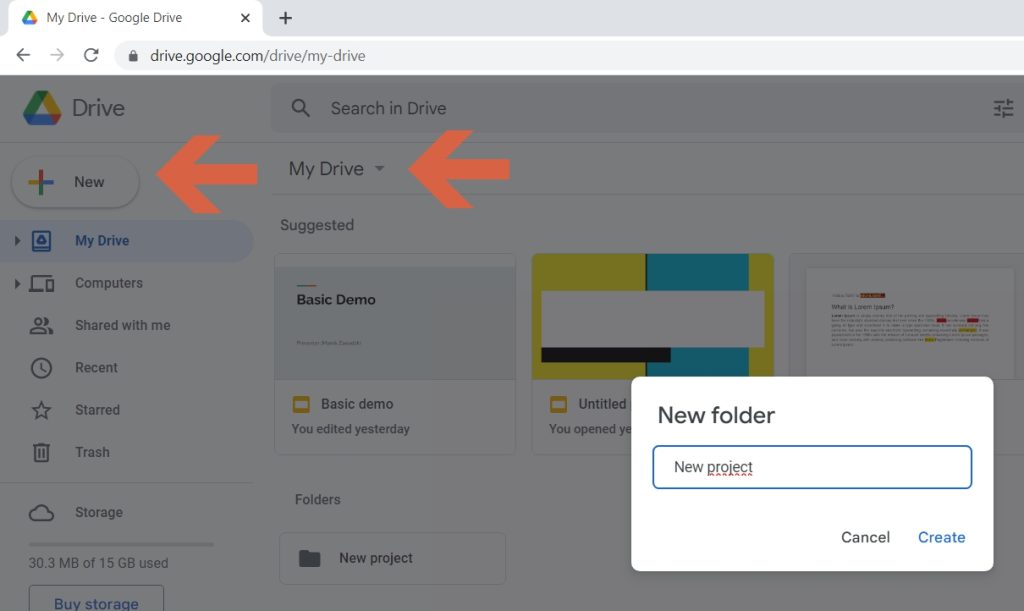
- And select Folder.
- Name this folder, for example, New Project.
- Click create.
Below you will find, what is possible there.

You can also use keyboard shortcuts:
- F – opens My drive menu
- SHIFT + F opens a new folder window, and then you can provide the name.
3. Open a destination folder
- Double click the folder you have created.
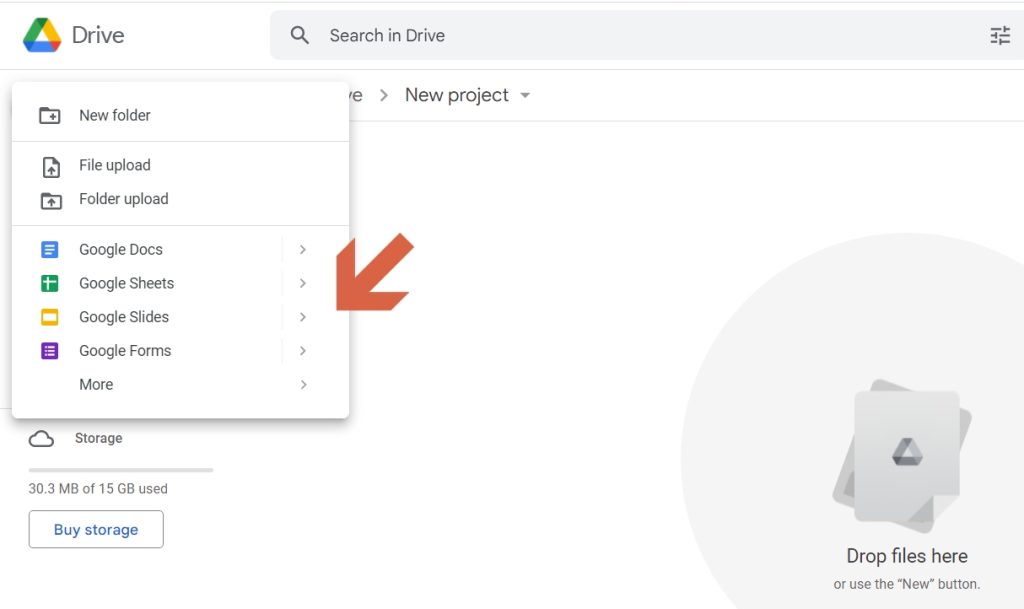
Your folder is empty at the beginning. You can:
- Drop your files.
- Create new folders using the Shift + F keyboard shortcut or menu.
- And you can create a new presentation here. Let’s do that!
4: Create a new Google Slides document
Create a new presentation in this folder:
- Using a menu, where you can find a Google Slides application.
- Using SHIFT + P keyboard shortcut.
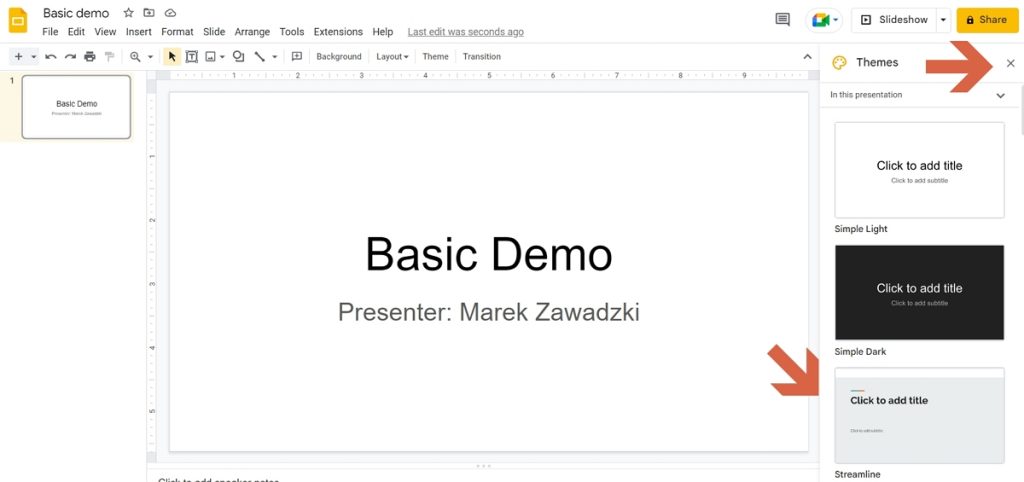
There is a new window opened for your presentation.

In this window you will find six main areas:
- Toolbars and menu. Here you can rename your presentation, change the destination folder or use the menu.
- Sidebar, which contains all your slides. Here you can manage your slides.
- Slide area. Here you can add, and manage the content of your slides.
- Speaker notes. You can add additional notes here.
- Themes Area. You can change the view of your presentation. Just click a theme.
- Control bar. You can control your presentation, for example share and add permission, or run in full screen mode.
5. Rename your presentation
- Click the “Untitled” presentation. And rename your presentation, for example, use Basic Demo.

6. Provide the title and a presenter name
- Click on the Slide Area and provide a title.
- It is also a great idea to provide your name. Because you are a presenter.
7. Choose a theme and close unnecessary areas
- You can choose a theme at the beginning.
- Then close this window.
8. Adding new slides
Now it is time to add new slides to your presentation:
- You can use a Toolbar. It is a great and simple way to do that.

- You can use the Insert menu.
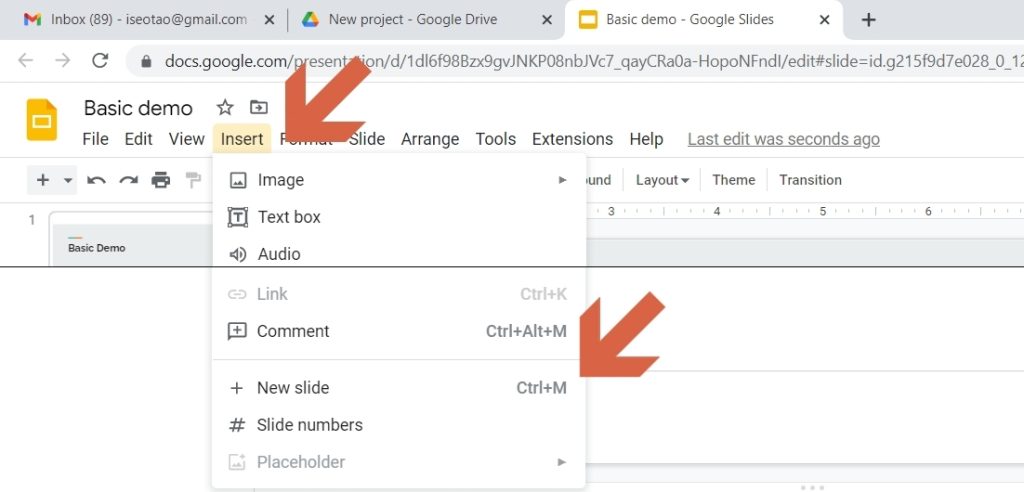
- You can use the CTRL+M keyboard shortcut.
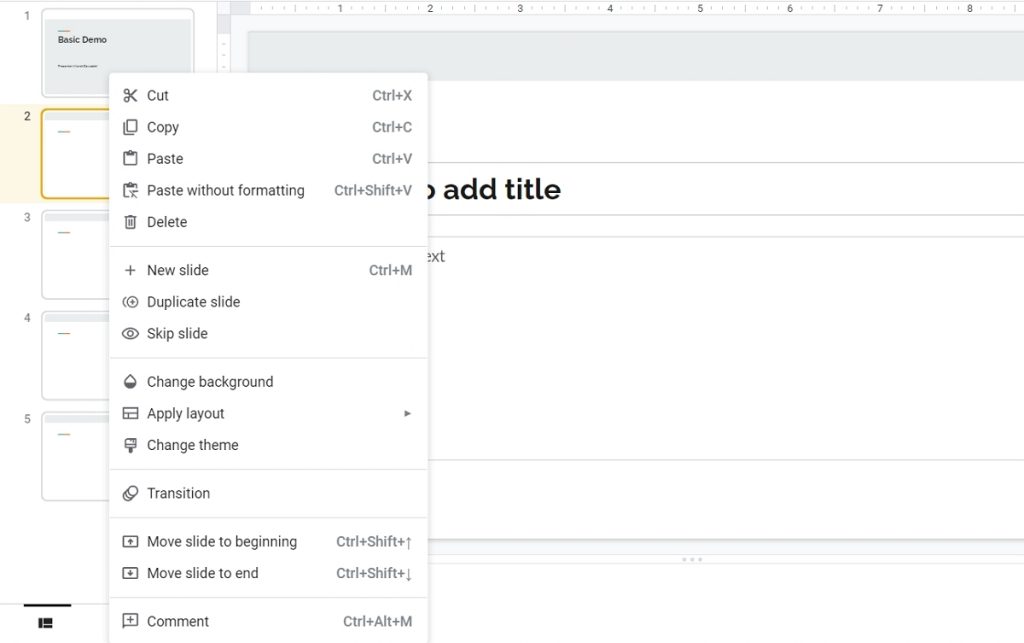
9. Managing your slides
You can manage your slides in the presentation document:
- Right click on the slide.
- Choose the command you want.
You can delete, hide, change the color background, and slide layout. There are many options available here.
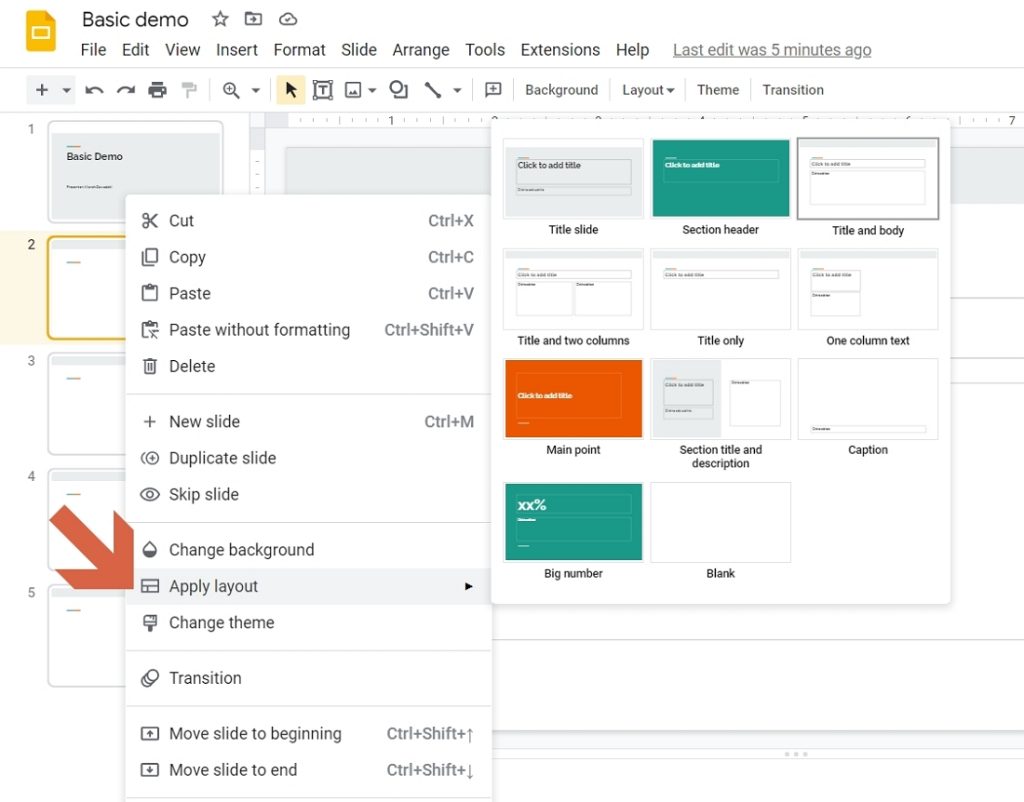
10. Change the slide layout
- Right click a slide.
- Choose Apply layout command.
Useful keyboard shortcuts
There are some useful keyboard shortcuts available for users. You can use these mentioned in this tutorial.
- F. Useful in Google Drive. It opens a menu in Google Drive. You can choose other commands, Create Presentation for example.
- SHIFT + F. Useful in Google Drive. It opens a new folder window, and then you can provide the folder name.
- SHIFT + P Useful in Google Drive. If you want to create a new Slides presentation.
- CTRL+M Useful in Google Slides. You can easily add new slides using this keyboard shortcut.
Summary
There is a PDF version available for free on my Gumroad Website.